Axewelledge, a leading exporter from India, specializes in high-quality Bentonite. With a commitment to excellence, we supply premium Bentonite to the Middle East and Southeast Asia markets.


North Angle Complex, 304,
150 Feet Ring Rd, Opposite Ambedkar Nagar BRTS Stop,
Madhav Park, Punit Nagar,
Mavdi, Rajkot, Gujarat 360004
© Axewelledge 2026, All Rights Reserved.
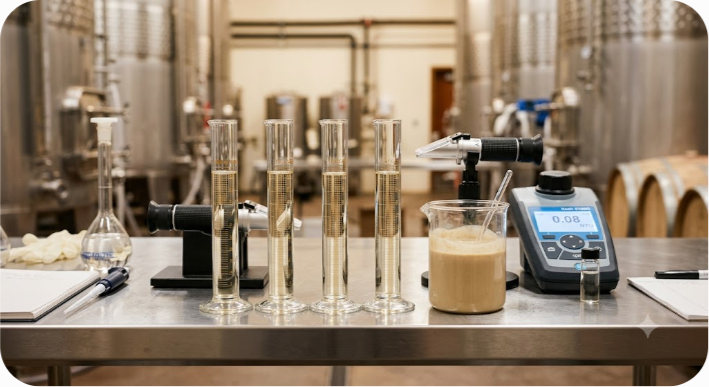
Few things unsettle a winemaker or distributor faster than a clear white wine turning cloudy inside a warm transport container or on a sunny retail shelf. That murky, white-ish cloudiness isn't bacterial spoilage or yeast re-fermentation—it's protein haze, caused when delicate, heat-labile proteins in the wine denature and clump together after exposure to temperatures above 25°C to 30°C (77°F to 86°F).
To prevent heat-induced haze, winemakers rely on bentonite fining—the industry-standard process of adding negatively charged montmorillonite clay to wine during fermentation or aging. The clay binds electrically to positively charged proteins, forming heavy flocs that settle out harmlessly, permanently heat-stabilizing the wine before bottling.
While the basic concept sounds simple, executing bentonite fining correctly requires precision. Strip too little protein, and your bottled wine risks turning cloudy under heat stress during shipping. Add too much bentonite, and you risk stripping away fragile floral aromatics, altering mouthfeel, and generating excessive sediment loss.
In this complete guide, we will break down the science behind wine protein instability, compare different types of bentonite, explain how to perform accurate bench trials, and share practical step-by-step protocols to achieve perfect heat stability without compromising wine quality.
To treat heat haze effectively, you must understand what you are removing. The proteins responsible for heat instability in wine originate directly from the grape berries—specifically, a group known as Pathogenesis-Related (PR) proteins.
PR proteins are natural defensive compounds produced by grapevines (Vitis vinifera) in response to fungal stress, environmental pressure, or simply during normal ripening. Grape juices and wines contain dozens of protein fractions, but two specific families account for nearly all heat-induced haze:
At normal wine storage temperatures (12°C to 15°C / 53°F to 59°F), PR proteins remain fully soluble and invisible. However, when the wine experiences heat stress—such as sitting in a delivery truck or unconditioned warehouse—the hydrogen bonds holding these proteins in their native folded shape break down.
Once unfolded, the protein molecules expose hydrophobic (water-repelling) internal zones. These exposed zones attract each other, causing the unfolded protein chains to aggregate into microscopic clusters. Over days or weeks, these clusters grow larger than 0.45 microns in diameter, turning light-transmitting wine into a visibly turbid solution.
Not all white wines are equally prone to heat haze. Several environmental and winemaking variables influence protein levels:
Bentonite is an absorbent aluminum phyllosilicate clay consisting primarily of montmorillonite. In winemaking, bentonite acts as an inorganic cation-exchange agent.
At typical wine pH ranges (pH 3.0 to 3.8), PR proteins carry a net positive electrical charge (+). Bentonite clay platelets, when hydrated in water, carry a strong net negative surface charge (-).
When a hydrated bentonite slurry is thoroughly mixed into wine, electrostatics drive immediate mutual attraction:
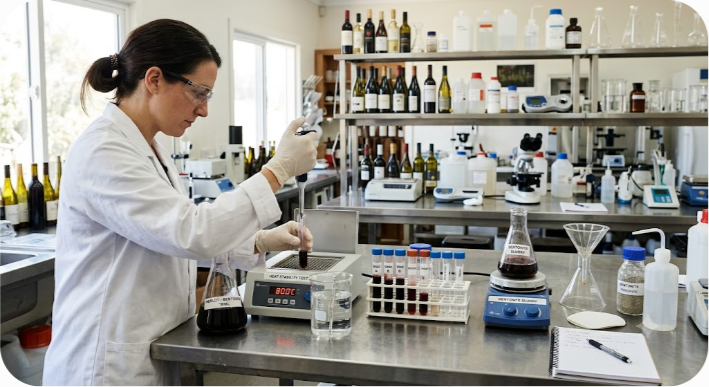
Dry bentonite consists of stacked, microscopic crystalline sheets tightly bound together by exchangeable sodium or calcium ions. If dry powder is dumped directly into wine, the clay cannot expand. It clumps into hard balls, offers minimal surface area for protein absorption, and yields poor fining performance.
Proper hydration in warm, clean water (40°C to 50°C / 104°F to 122°F) expands the distance between individual clay platelets by 10 to 15 times. This expansion exposes the negative surface charges required to attract and bind positive wine proteins.
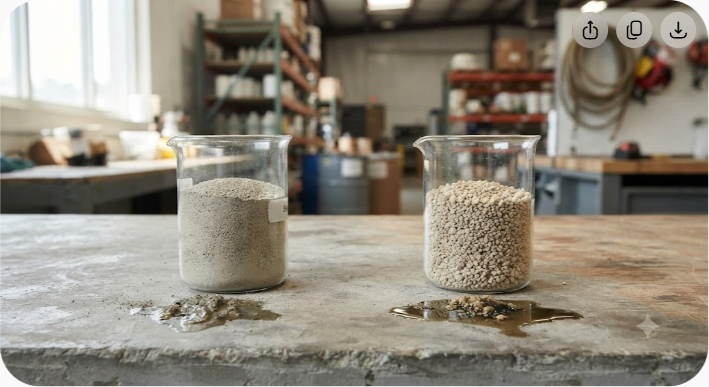
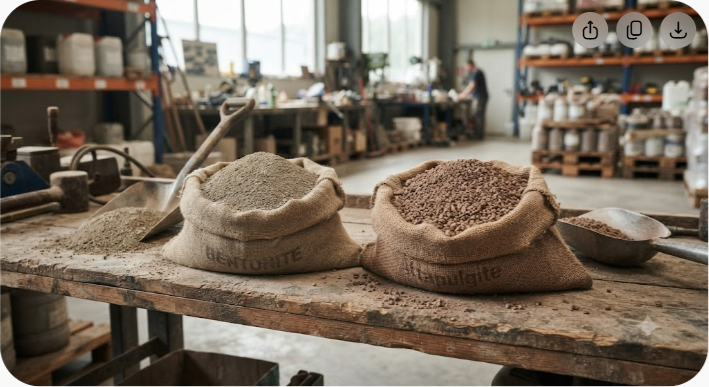
Winemakers can choose from three primary commercial forms of bentonite clay. Each type features a distinct ionic composition that directly impacts swelling capacity, protein removal power, compact lees formation, and wine yield.
Sodium bentonite features sodium cations in its interlayer spaces. It exhibits extraordinary water absorption and swelling capacity—expanding up to 15 to 20 times its original dry volume when hydrated.
Calcium bentonite contains divalent calcium ions between its silicate layers. It expands significantly less than sodium bentonite when hydrated (typically 4 to 8 times dry volume).
Activated bentonites start as natural calcium bentonite that undergoes chemical processing with sodium carbonate (Na2CO3) to replace calcium ions with sodium ions.
| Feature / Attribute | Sodium Bentonite | Calcium Bentonite | Activated (Sodium-Calcium) |
|---|---|---|---|
| Swelling Volume (in water) | High (15x–20x) | Low (4x–8x) | Moderate-High (10x–14x) |
| Protein Removal Power | Excellent (Highest) | Moderate | Good |
| Lees Volume / Compactness | Voluminous (Looser cake) | Very Compact | Moderately Compact |
| Typical Dosage Range | 0.2 – 0.8 g/L | 0.5 – 1.5 g/L | 0.3 – 1.0 g/L |
| Settling Time | 3 – 7 days | 2 – 4 days | 3 – 5 days |
| Aroma Stripping Risk | Moderate (if over-fined) | Low | Low to Moderate |
| Best Winemaking Use | High-protein white juices | Post-fermentation clarification | General fermentation & aging |
High-purity industrial mineral processors like Axewelledge refine natural sodium bentonites to strict chemical standards, ensuring consistent swelling capacity and ion-exchange stability across large commercial production volumes.
Adding bentonite without testing beforehand leads to two common mistakes: under-fining (leaving wine unstable) or over-fining (stripping color, aroma, and mouthfeel). Winemakers use heat stability tests in the laboratory to determine whether a wine requires treatment and to verify stability post-fining.
Calculate the change in turbidity by subtracting initial NTU from final NTU post-heating:
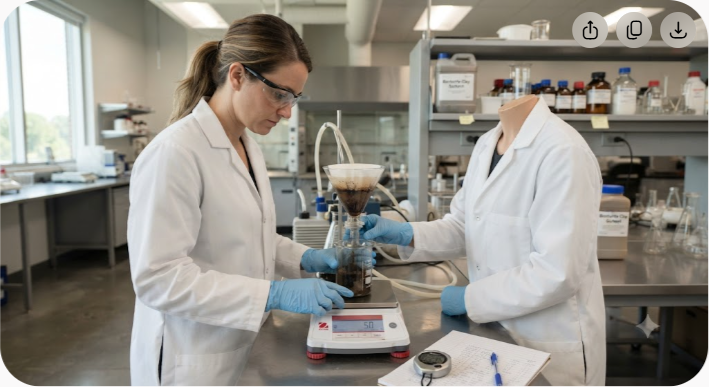
Before treating a large production tank, you must run laboratory bench trials to identify the minimal effective dose—the exact amount of bentonite needed to achieve a change in NTU under 2.0 while preserving maximum aroma profile and volume.
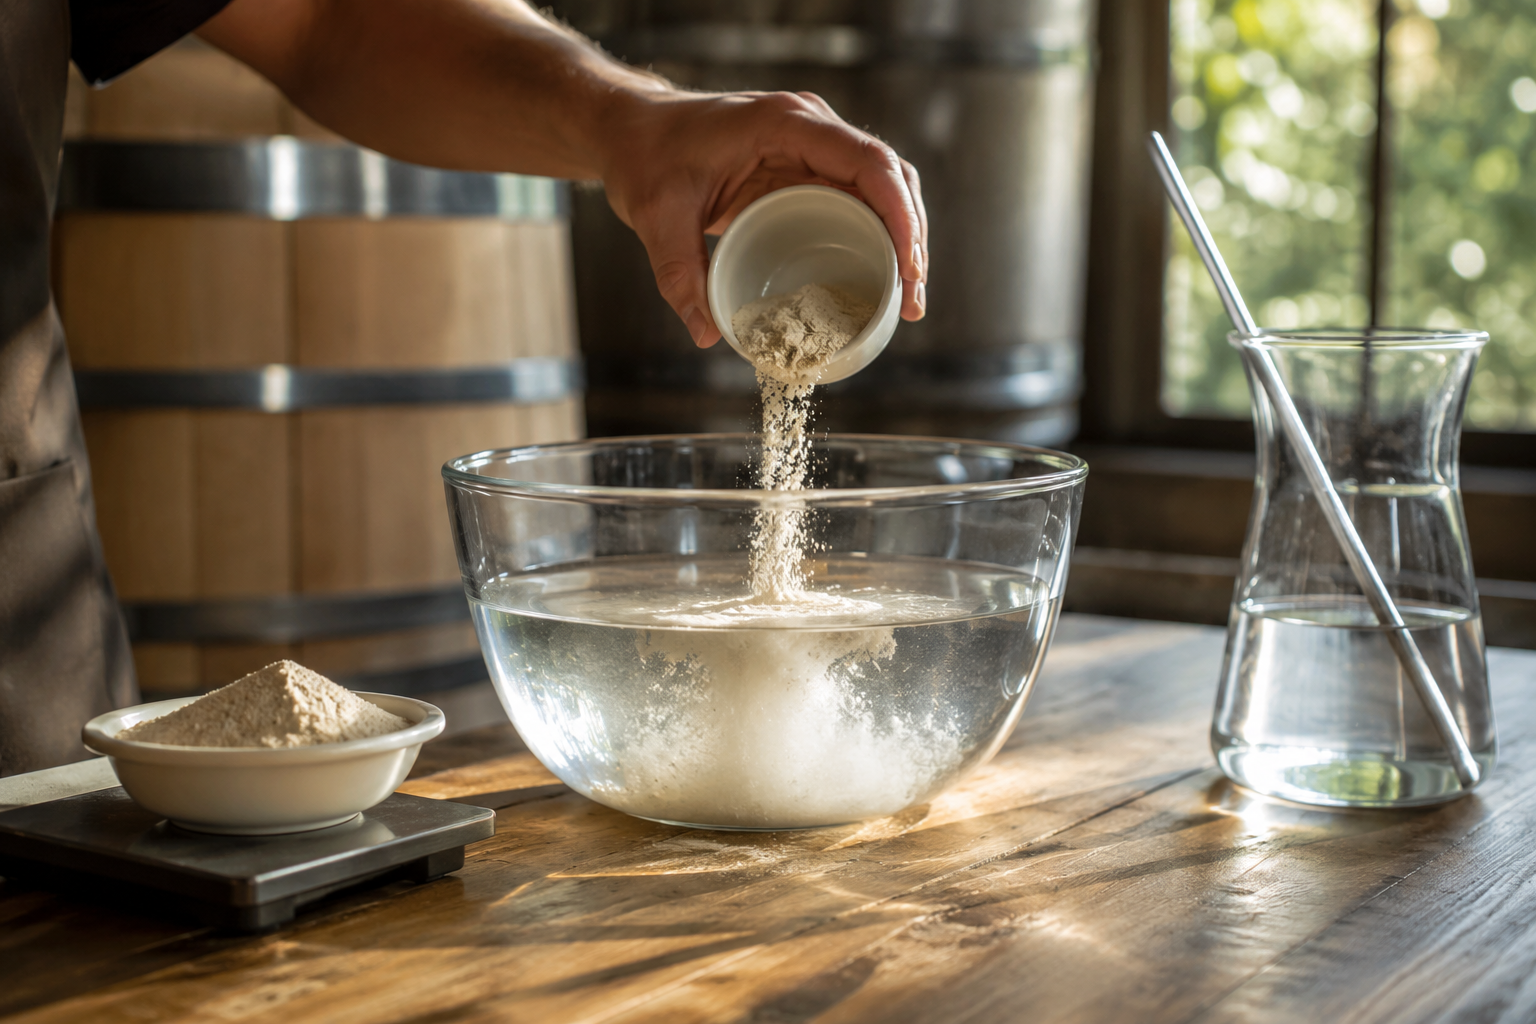
Dissolve 5.0 grams of dry bentonite into 95 mL of warm water (45°C / 113°F). Mix thoroughly, then allow it to hydrate for 12 to 24 hours. Top up with distilled water to a final volume of 100 mL. Each 1.0 mL of this 5% stock solution added to a 100 mL wine sample represents a dosage rate of 0.5 g/L (50 g/hL or ~4.2 lbs / 1,000 gal).
| Target Bentonite Rate (g/L) | Target Rate (g/hL) | Target Rate (lbs / 1000 gal) | Volume of 5% Stock Solution to Add to 100 mL Wine |
|---|---|---|---|
| 0.0 g/L (Control) | 0 g/hL | 0.0 lbs | 0.00 mL |
| 0.2 g/L | 20 g/hL | 1.67 lbs | 0.40 mL |
| 0.4 g/L | 40 g/hL | 3.34 lbs | 0.80 mL |
| 0.6 g/L | 60 g/hL | 5.00 lbs | 1.20 mL |
| 0.8 g/L | 80 g/hL | 6.68 lbs | 1.60 mL |
| 1.0 g/L | 100 g/hL | 8.35 lbs | 2.00 mL |
Invert the dosed samples to mix thoroughly, then let them settle for 24 hours at room temperature. Decant the clear supernatant from each tube, filter through a 0.45-micron filter, and run the 80°C heat test for 2 hours. Select the sample with the lowest bentonite dosage that passes the stability test.
Once bench trials establish your exact dosage target, follow this operational protocol to treat your cellar tanks safely and effectively.
Never skip full hydration. Unhydrated clay loses up to 50% of its binding efficiency and settles poorly.
Winemakers can add bentonite either directly to unfermented grape juice/must (fermentation fining) or to finished wine during cellar maturation (post-fermentation fining). Each approach offers distinct advantages.
| Feature | Fermentation Fining (Juice Stage) | Post-Fermentation Fining (Finished Wine) |
|---|---|---|
| Timing | Added directly to active juice or must | Added to aged, clarified wine prior to bottling |
| Agitation | Natural CO2 evolution keeps clay suspended | Requires mechanical mixing or recirculation |
| Aroma Impact | Preserves primary varietal aromas | Risk of stripping delicate esters if over-dosed |
| Precision | Harder to predict exact dosage on raw juice | Allows highly precise bench-trial dosing |
| Lees Management | Settles together with gross yeast lees | Requires separate rack and settling cycle |
Adding bentonite during active primary fermentation takes advantage of natural carbon dioxide (CO2) bubbling, which keeps clay platelets suspended without requiring mechanical agitation.
Adding bentonite after malolactic fermentation or cellar aging, shortly before final filtration and bottling.
For aromatic white varieties high in terpenes (such as Sauvignon Blanc, Gewürztraminer, and Viognier), many winemakers split their bentonite application: 60% during primary fermentation to remove bulk chitinases, and 40% post-fermentation after bench-testing to polish final heat stability.
While bentonite effectively removes unstable proteins, it is not completely selective. Excessive or improper bentonite fining can negatively alter sensory properties:
To protect delicate wine profiles while ensuring stability, winemakers often combine lower bentonite doses with complementary techniques:
| Problem Observed | Root Cause | Practical Solution |
|---|---|---|
| Wine remains hazy after fining | Incomplete hydration; high wine pH; cold temperature inhibiting settling | Ensure 12–24h warm hydration; adjust pH if appropriate; use counter-fining agents like gelatin or silica sol (Kieselsol). |
| Excessive wine volume lost in lees | Used low-quality calcium clay or didn't allow adequate settling time | Switch to premium high-purity sodium/activated bentonite; cold-settle 5–7 days; filter lees using frame/crossflow units. |
| Loss of vibrant fruit aromas | Over-fining; added bentonite without performing bench trials | Conduct bench trials to find the minimum dosage; consider splitting doses between juice and post-fermentation stages. |
| Clay clumps during slurry prep | Added dry bentonite powder into water too rapidly without mixing | Sprinkle powder gradually into warm water (45°C) while running a mechanical mixer continuously. |
| Slow settling / floating clay | Trapped CO2 gas bubbles lifting clay platelets to the surface | Degas the wine before fining; ensure tank temperature remains stable to prevent convection currents. |
To ensure heat stability without compromising wine quality, follow this practical checklist for every production batch:
For commercial winemakers, wineries, and beverage processors seeking consistent purity and reliable mineral performance, using refined, high-absorbency sodium bentonite from trusted global producers like Axewelledge ensures reliable protein binding, clean settling, and long-term heat stability in every bottle.

Have questions about our products? We're here to help!